5分鐘整好GoogleMap+GPS 定位~
Palm Ares 出了1.0 , 多了很多Component , 例如google map … 透過預設的component , 可以輕易做出很多效果 ~
Palm Ares 有一個tutorial , 利用googlemap 元件, 再加幾句, 可以輕易做出google map 定位軟件 …
我測試過 , 附近地圖會追隨你的座標移動 ~~~ 很準的~
好, 開工~
Part 1: 設定程式及基本
Step 1 : 登入Ares (http://ares.palm.com/ ), 按New -> application
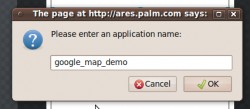
Step 2: 建立新的程式 , 幫程式改個名 (今次叫 google_map_demo )
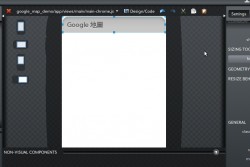
Step 3: 拖放一個header 到中間的版面 (Palm Pre 的位置) ,
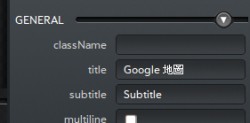
在右方的properties inspector 加入設定:
title = Google 地圖
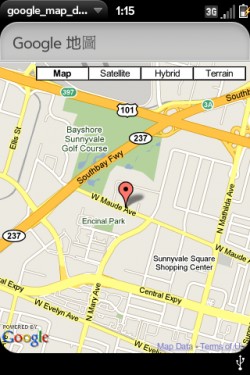
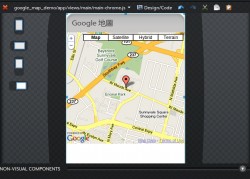
完成圖:
Part 2 : google map
Step 4: 拖放一個google 地圖component 到版面 (palm pre 的位置)
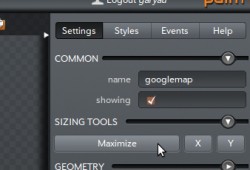
step 5: 設定Google map 的properties
name = googlemap
按maximum 這個button 一次, 會放大google map
預設會顯示palm 總部的位置
Part 3 : GPSi
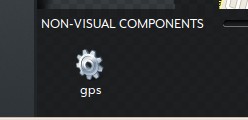
step 6: 在sensors 分類, 把GPS 拖到版面 (palm pre 的位置) ,
由於GPS 無GUI , 所以會自動變到non-visual components
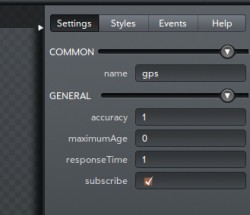
step 7 : 修改GPS 的 properties ,
name = gps
subscribe = enable (這個設定令GPS 不停更新資料, 否則只會在首次啟動時更新, 之後不更新位置)
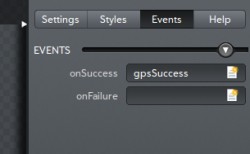
step 8: 按GPS 的 Events , 按 onSuccess 右方的新增, 會出現新的event procedure, 再double-click 這個事件
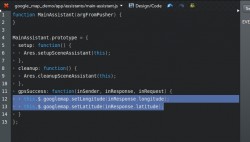
step 9: 在 gpsSuccess 的位置, 加入程式碼
| this.$.googlemap.setLongitude(inResponse.longitude); this.$.googlemap.setLatitude(inResponse.latitude); |
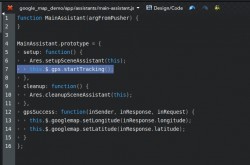
Step 10: 在setupSceneAssistant 加入以下的code
| this.$.gps.startTracking(); |
Part 4 : 完工 !
按執行標誌 -> launch , 如果你有palm pre 及安裝了novacom , 會把程式安裝到Palm Pre 或者模擬器 …
如果你想下載你的作品 (IPK格式) , 可以按Package 即可, 可以用WebOS QuickInstall 安裝
你可以在模擬器或者Palm Pre 試行你的google map ~ (示範只顯示美國palm公司的位置給你看啦 … 我係香港某處 ~~ )
remark : 紅色部分是你自己加入的程式碼
| function MainAssistant(argFromPusher) { } MainAssistant.prototype = { |
MainAssistant.prototype 似是form 的相關程序 , setup 應是啟動這form 時自動執行的procedure ,
gpsSuccess 是’gps’ 這個object 找到座標時執行的procedure , 早前在gps 這object 加了tracking, 應是不停監察GPS , 並啟動procedure 內的程式碼
转载地址:http://www.garyau.com/en/palm-pre/webos-development/130-ares-googlemap-gps-demo.html

